Design Services

How to Install a Container Shelter: A Step-by-Step Guide
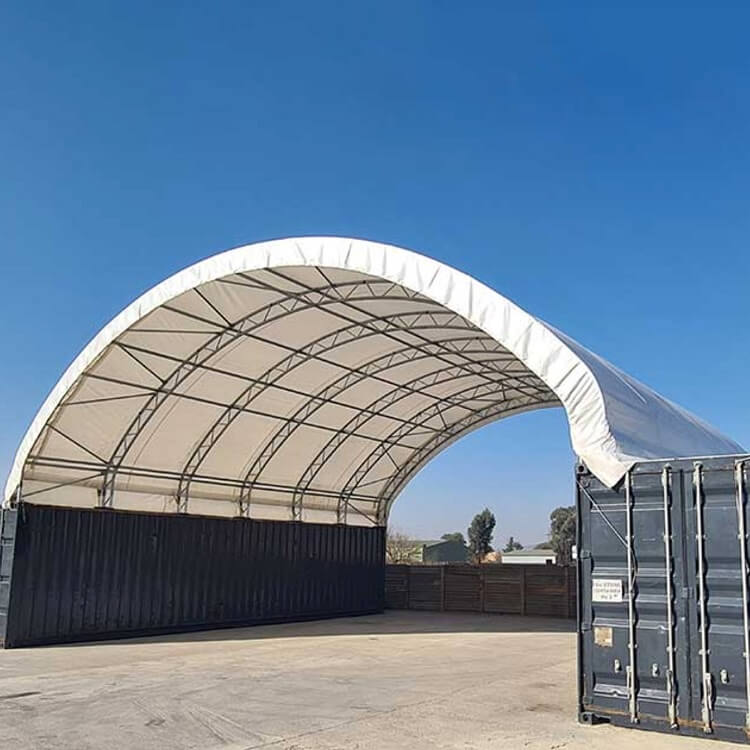
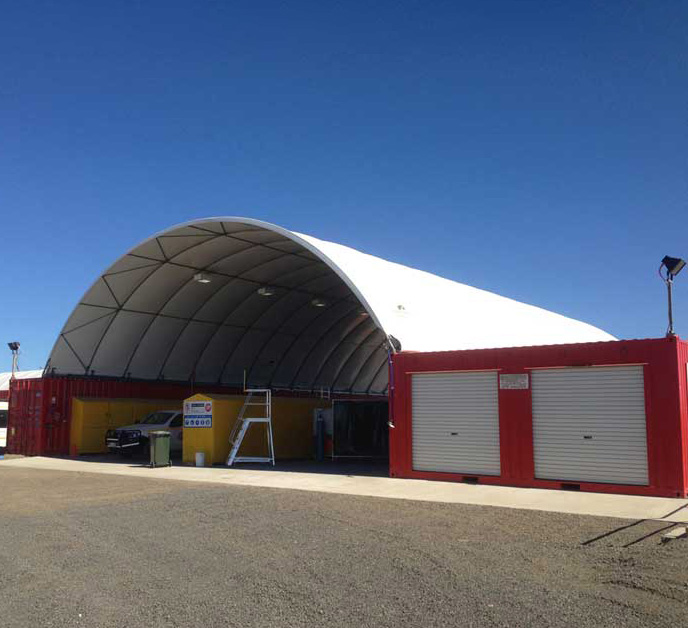
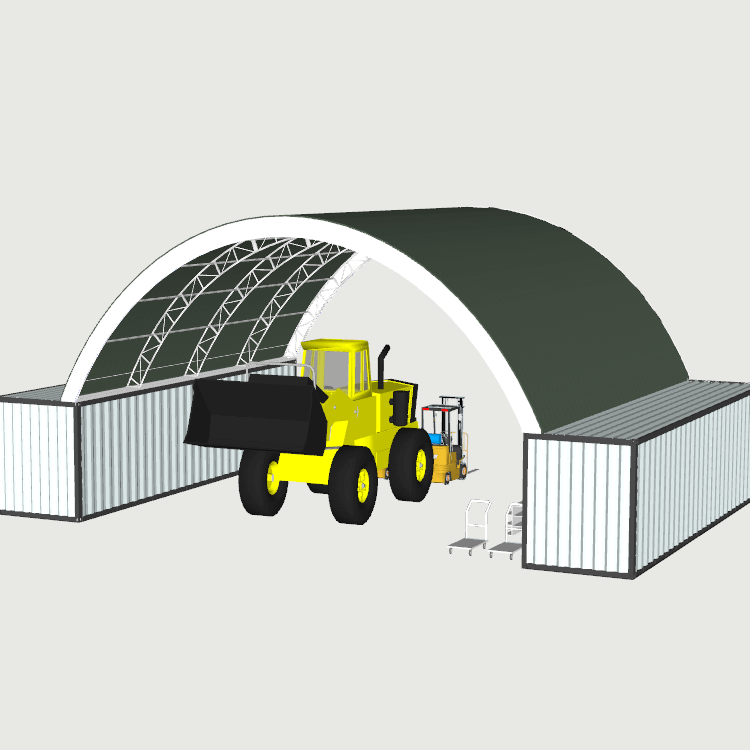
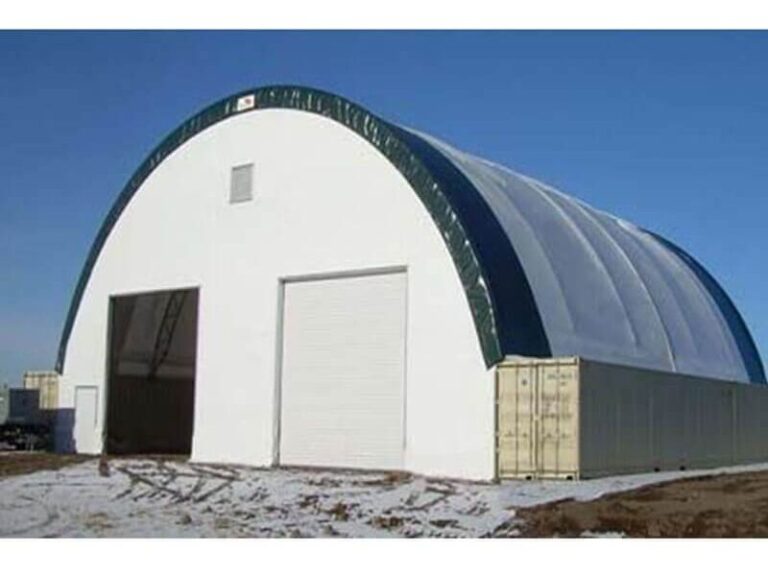
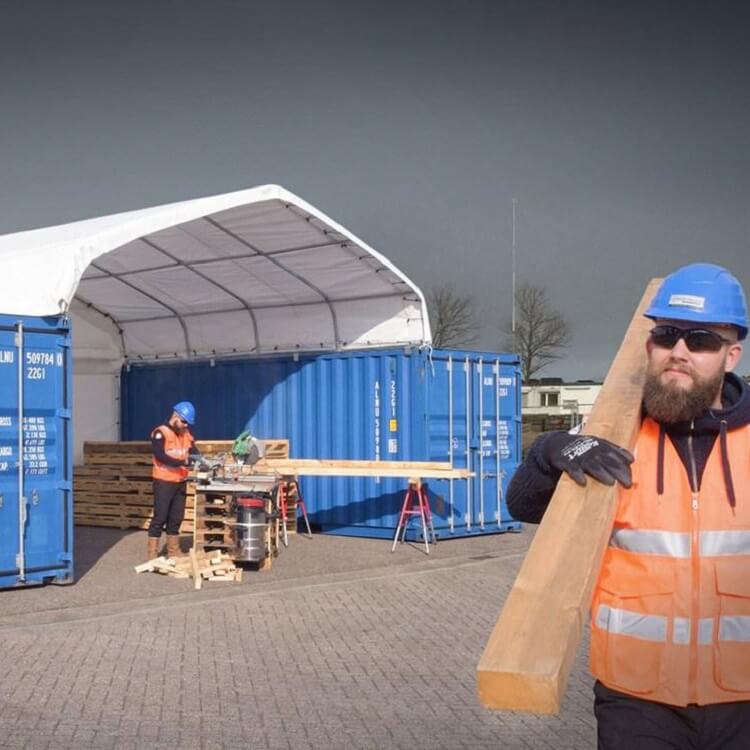
Container shelters are versatile, durable, and cost-effective structures commonly used for storage, temporary housing, workshops, and event spaces. Installing a container shelter may seem like a complex task, but with the right tools, preparation, and knowledge, the process can be relatively straightforward. This guide will take you through the essential steps involved in installing a container shelter, from site preparation to securing the structure.
1. Planning and Preparation
Before you begin the installation process, thorough planning and preparation are essential to ensure the shelter is installed correctly and safely.
- 1.1 Define the Purpose and Size
- Determine the purpose of the shelter (e.g., storage, workshop, event space) and the amount of space you need. Container shelters typically come in standard sizes such as 20-foot or 40-foot long containers, but you can also find custom-sized units depending on your requirements.
- 1.2 Site Selection
- Choose a suitable location for your shelter. The site should be:
- Level: The ground should be as flat as possible to ensure stability and prevent water pooling.
- Accessible: Ensure that the area is accessible for delivery trucks and machinery (if needed).
- Secure: Choose a location that minimizes the risk of damage from storms, flooding, or other environmental hazards.
- Permits: Check with local authorities about any zoning requirements, building codes, and permits that might be necessary for installing a container shelter in your area.
- 1.3 Tools and Materials
- Make sure you have the following tools and materials on hand before starting:
- Tools: Wrenches, screwdrivers, power drill, level, tape measure, cutting tools, welding equipment (if necessary), and safety gear (gloves, goggles, etc.).
- Materials: Shipping containers, frame (if using), fabric cover (for fabric-covered shelters), anchor bolts or fasteners, and any additional features like doors, windows, or insulation.
2. Site Preparation
- 2.1 Clearing the Area
- Clear the area of any obstacles such as rocks, debris, and vegetation. This will make the installation process smoother and safer. If the ground is uneven, consider leveling it to create a stable base for the shelter.
- 2.2 Foundation or Base
- Although shipping containers are strong and can sit directly on the ground, a more secure installation may require a foundation or base. The type of foundation will depend on your site conditions and the type of container shelter you’re installing. Common options include:
- Concrete Slab: Provides a solid foundation that can support the weight of the container shelter and protect it from moisture.
- Gravel Pad: A more affordable option that can be used to provide drainage and support for the containers.
- Concrete Blocks or Steel Beams: Used for slightly elevated installations, preventing direct contact with the ground to reduce rust and water damage.
- 2.3 Leveling the Foundation
- Ensure that the foundation is level before proceeding. Use a spirit level or laser level to check for any unevenness in the base, as this will affect the stability of the shelter once it’s installed.
3. Installing the Containers
- 3.1 Positioning the Containers
- Once the site is prepared, it’s time to position the containers:
- Transporting the Containers: If you’re using standard shipping containers, they’ll need to be delivered to the site. This may require a crane, flatbed truck, or forklift, depending on the size and weight of the containers.
- Aligning the Containers: Carefully position the containers on the foundation, ensuring they are straight and level. If you’re using multiple containers, make sure to align them properly to create the desired layout (side-by-side, stacked, or in a row).
- 3.2 Securing the Containers
- Once in position, secure the containers to the foundation using anchor bolts or other fasteners. This ensures the shelter is firmly anchored to the ground and will be resistant to wind and other environmental factors. For added stability, you may also need to weld the containers together at the corners.
4. Installing the Shelter Frame (If Applicable)
- 4.1 Assembling the Frame
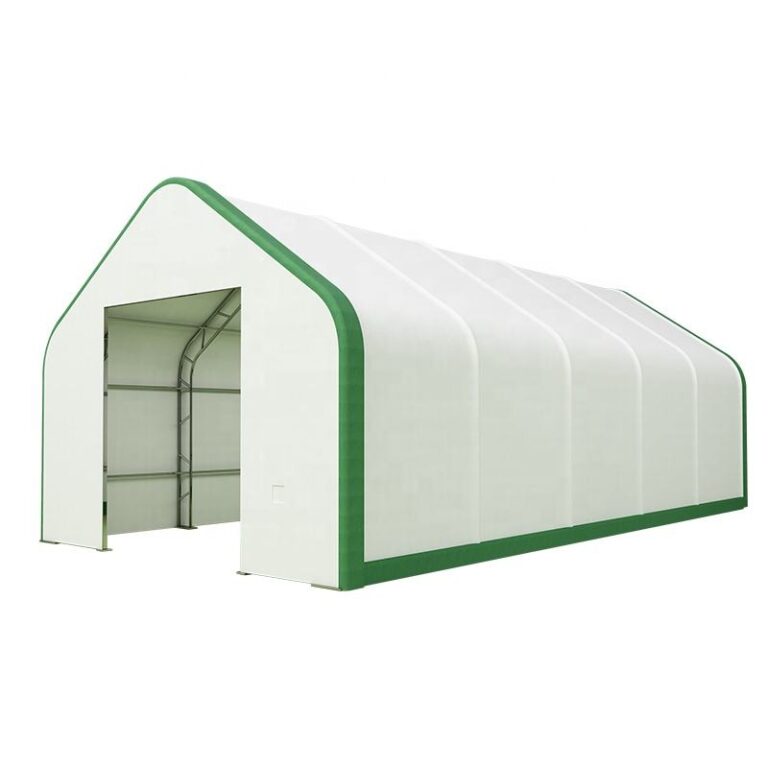
- Some container shelters require a supporting frame for additional stability or to support the shelter cover (such as a fabric canopy or roof). This frame is typically made of steel or aluminum. If your shelter requires one, follow the manufacturer’s instructions for assembling the frame.
- Steel Frame: Bolt or weld the frame to the top or sides of the containers.
- Fabric Frame: If the shelter uses a fabric cover, the frame will provide support to stretch and secure the cover tightly.
- 4.2 Securing the Frame
- Ensure the frame is securely fastened to the containers and any foundation elements. The stability of the frame will directly affect the shelter’s ability to withstand wind and weather conditions, so it’s essential to make sure everything is tightly secured.
5. Installing the Shelter Cover
- 5.1 Preparing the Covering Material
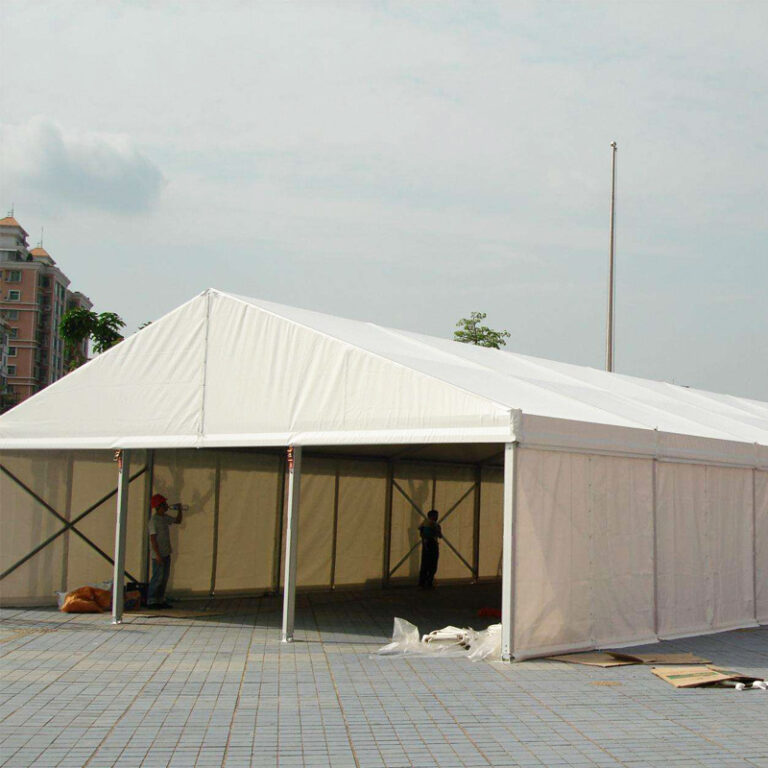
- If you’re installing a fabric-covered shelter, unroll the material and lay it out to ensure it fits properly. The fabric material is typically UV-resistant, weatherproof, and durable, and it will be stretched over the frame.
- 5.2 Attaching the Cover
- Carefully drape the shelter cover over the frame and secure it tightly using the provided straps, hooks, or fasteners. Make sure the fabric is taut and evenly distributed to avoid sagging. Pay special attention to securing the edges of the cover to the containers to prevent wind from lifting it.
- 5.3 Waterproofing and Sealing
- Ensure all seams are properly sealed to prevent water from entering the shelter. Some covers come with built-in waterproofing, while others may require additional sealing tape or caulk to ensure a watertight fit.
6. Final Touches and Safety Checks
- 6.1 Door and Window Installation
- If your shelter has doors or windows, install them according to the manufacturer’s instructions. Ensure that they are securely attached and properly sealed to prevent drafts, water, or pests from entering the shelter.
- 6.2 Insulation and Ventilation
- For added comfort, consider adding insulation to the interior walls of the container shelter. This will help regulate the temperature inside, making it cooler in the summer and warmer in the winter. Ventilation is also essential to ensure proper airflow. Install vents or fans if necessary, particularly if the shelter will be used for long-term purposes.
- 6.3 Safety Inspection
- Before using the shelter, perform a thorough safety inspection. Check all fasteners, anchors, and connections to ensure everything is secure. Verify that doors, windows, and any other components are functional and safe to use.
7. Conclusion
Installing a container shelter can be a straightforward process when you follow the correct steps. By carefully planning the site, preparing the foundation, positioning the containers, and securing the frame and cover, you can create a stable and durable shelter that will provide protection from the elements. Whether you are using it for storage, a workshop, or emergency shelter, a properly installed container shelter offers a versatile and cost-effective solution.
