Design Services

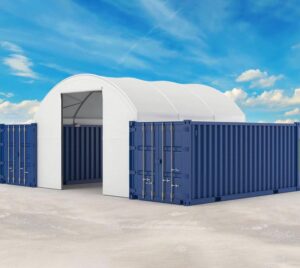
How to make a 20ft container shelter
A 20-foot (about 6 meters) container shelter is a small, flexible and economical building solution suitable for living, storage or emergency places. The following are the steps to make a 20ft container shelter.
1. Preparation and planning
- (1). Identify the needs:
- Living use: Consider lighting, ventilation, insulation and internal functional layout.
- Storage use: Pay attention to waterproofing, anti-theft and stability.
- Other uses: If it is a temporary office or camping site, unique features such as power systems or mobility designs can be added.
- (2). Draw a design plan:
- Internal layout: Determine door and window openings, furniture placement and partitions.
- Exterior design: Whether it is necessary to add a roof, decorate the exterior walls or install other structures.
- (3). Budget estimate:
- List the costs of container procurement, modification materials, tools and labor, and reserve a certain budget to deal with possible additional expenses.
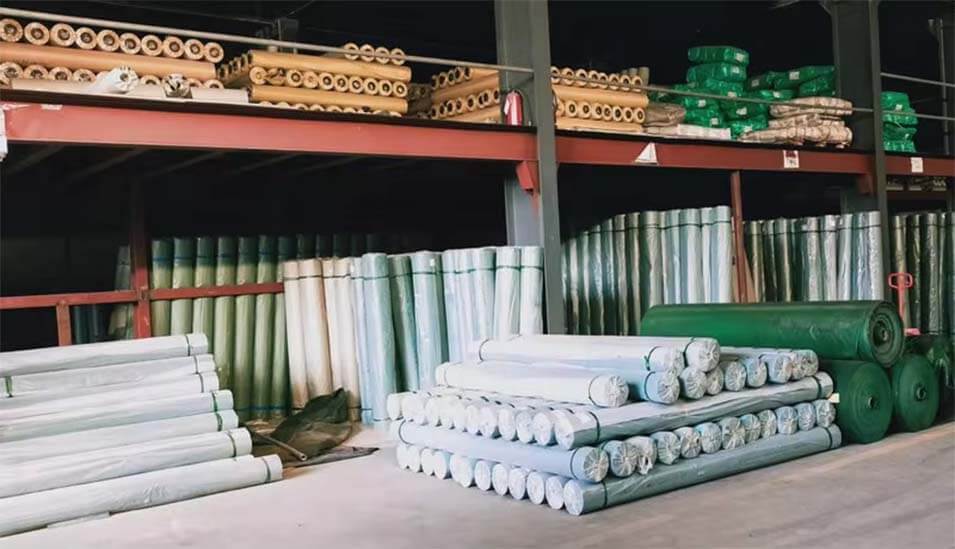
2. Materials and tools preparation
- Materials:
- 20ft container: Choose a second-hand or new container in good condition.
- Insulation materials: such as polyurethane board, rock wool or glass fiber wool.
- Waterproof materials: waterproof coating, sealing strips.
- Decorative materials: wood board, gypsum board, PVC floor.
- Foundation materials: concrete blocks or steel beams to support the foundation.
- Tools:
- Welding machine, electric drill, cutting machine.
- Measuring tools, painting tools.
- Crane or forklift (for transporting and placing containers).
3. Foundation preparation
- (1). Foundation construction:
- Choose a concrete foundation or steel beam support according to the terrain to ensure that the foundation is level and solid.
- The foundation height should be slightly higher than the ground to avoid rainwater soaking.
- (2). Container placement:
- Use a crane to transport the container to the foundation location.
- Check the levelness of the container and adjust the support points if necessary.
4. Container modification
- (1). Cutting and opening:
- Open doors and windows on the container according to the design.
- Reinforce and weld the cut area to prevent the structural strength from being damaged by cutting.
- (2). Insulation and heat preservation:
- Lay insulation materials such as foam board or rock wool on the inner wall, ceiling and floor.
- Use wooden boards or gypsum boards to seal the insulation layer to increase the aesthetics and comfort.
- (3). Roof reinforcement:
- If it is used for a long time, a roof slope or awning can be installed to prevent water accumulation and direct sunlight.
- Install drainage gutters on the roof to facilitate the drainage of rainwater.
- (4). Interior decoration:
- Install partition walls according to the purpose, and configure furniture or storage facilities.
- Install circuit systems, including lighting, sockets and electrical wiring.
- If there is a need for heating or cooling, air conditioning or heating equipment can be installed.
5. External treatment
- (1). Anti-corrosion coating:
- Apply anti-rust paint or waterproof paint on the outside of the container to extend its service life.
- The exterior wall can be decorated with wood grain board, color steel plate or other beautification materials.
- (2). Installation of doors and windows:
- Install anti-theft doors and windows to ensure safety.
- Double-glazed windows can be selected to improve thermal insulation performance.
- (3). Supporting facilities:
- Add awnings, canopies or corridors outside the container.
- Simple small courtyards or fences can be laid to improve the overall environment.
6. Completion and acceptance
- (1). Test function:
- Check whether the doors and windows open and close smoothly and whether the seals are intact.
- Test whether the circuits and ventilation equipment are operating normally.
- (2). Acceptance criteria:
- Ensure that the structure is stable, waterproof and moisture-proof, and has good thermal insulation.
- Check whether it complies with the design plan and adjust the details.
7. Subsequent maintenance
- (1). Regular inspection:
- Regularly check the roof drainage system, external coating and sealing.
- Clean up any debris that may have accumulated to prevent water from flowing smoothly.
- (2). Repair and upgrade:
- Upgrade functions as needed, such as adding solar panels or water filtration systems.
- Repair damage or corrosion in a timely manner to extend the service life.
Building a 20ft container shelter is a flexible and scalable construction project. From planning to completion, all it takes is reasonable design and efficient execution to create a sturdy, beautiful and practical shelter space. Whether it is for short-term use or long-term residence, this solution can meet a variety of needs.
